Chicken Parmesan Sliders with Gooey Mozzarella and Garlic Butter
By Olivia Hayes
Prep
10 min
Cook
25 min
Total
55 min
Servings
12
Level
Easy
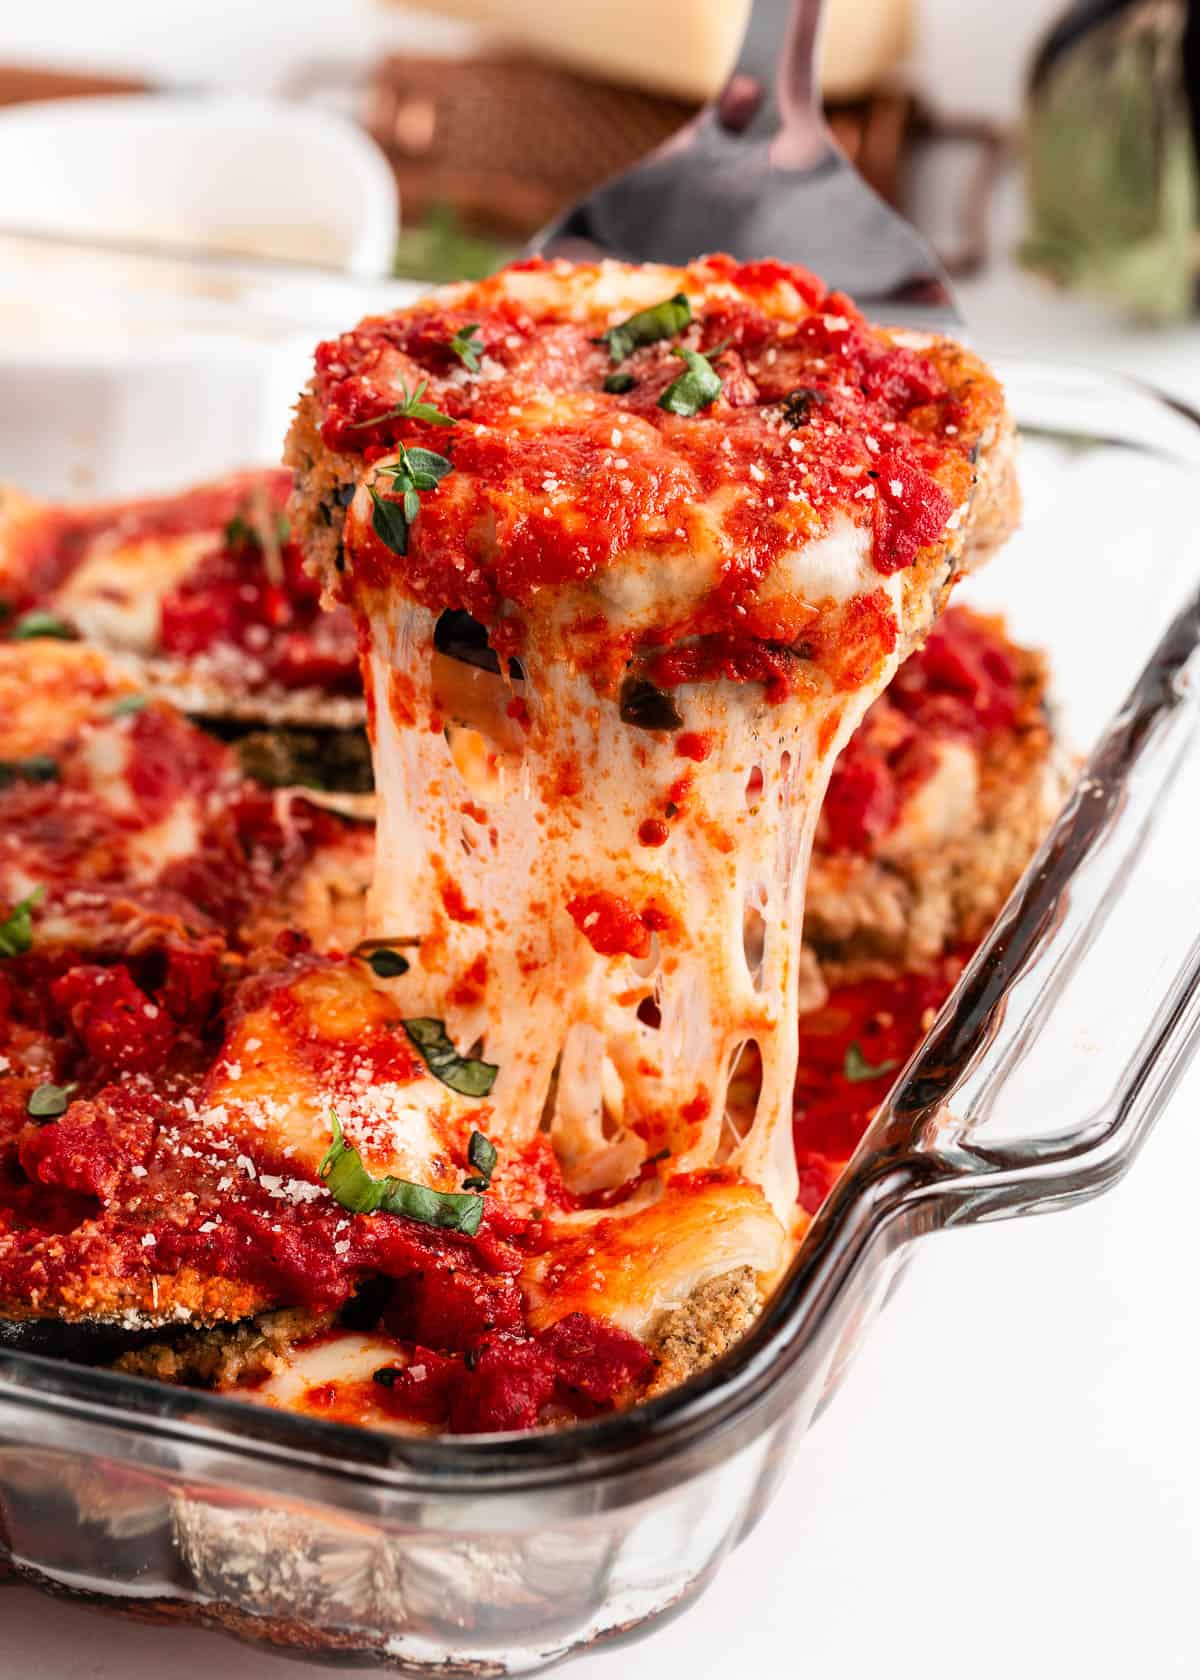
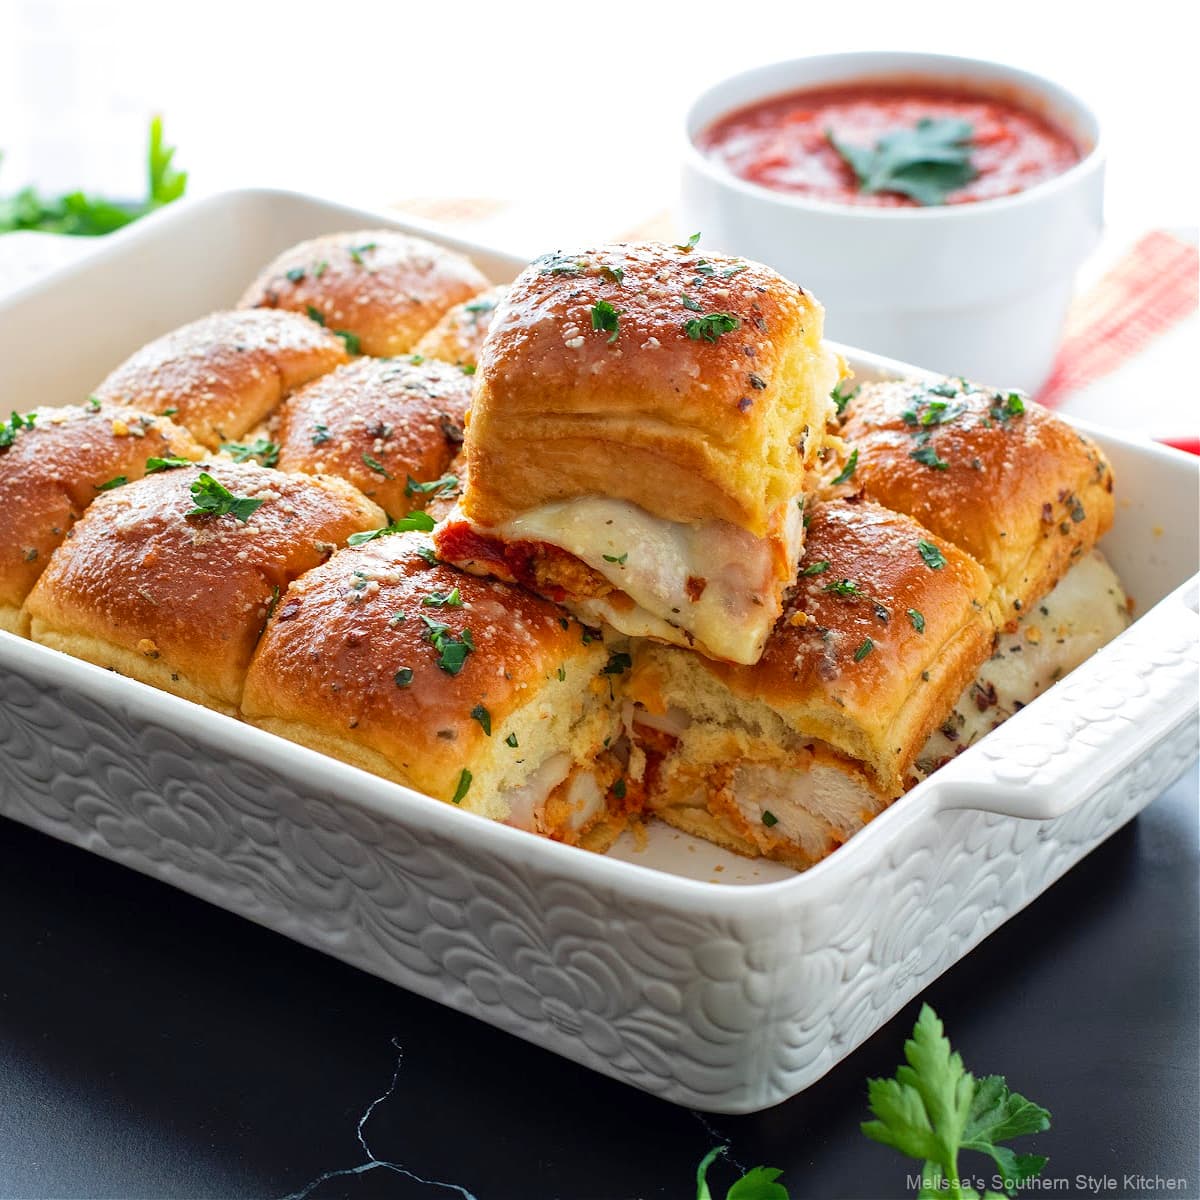
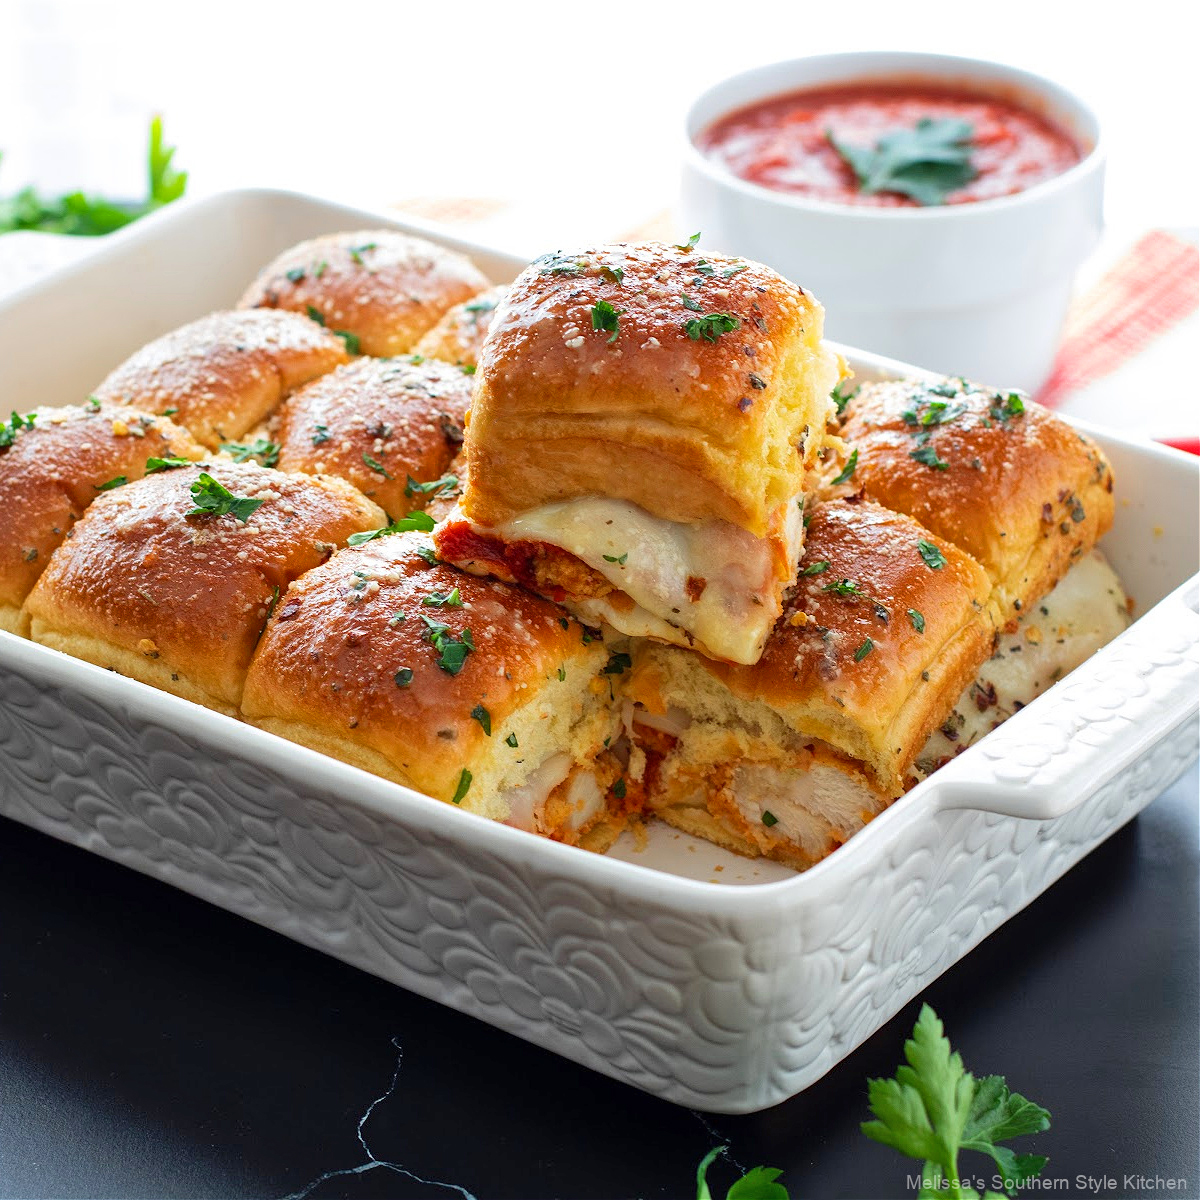
These Chicken Parmesan Sliders fit a weeknight plan with 10 minutes of prep and 25 minutes of baking. Cooked breaded chicken, thick marinara, mozzarella, and Parmesan turn 12 slider rolls into crisp-topped sandwiches with a gooey cheese layer.
Start with fully cooked, cooled breaded chicken tenders or cutlets, then layer the roll bottoms with mozzarella, thick marinara, chicken, more sauce, Parmesan, and a second layer of cheese. The thick sauce helps keep the bread from getting overly wet, while mozzarella acts as the layer that holds the sliders together. Garlic butter, onion powder, Italian seasoning, and red pepper flakes season the rolls.
Bake the covered sliders first, then remove the foil for the final few minutes. They are ready when the tops are lightly golden and the cheese has melted throughout the layers. Fresh mozzarella is the main texture problem to avoid because its extra moisture can make the sandwiches wet. Letting the cooked chicken cool before assembly also helps the rolls stay more structured.
Cut along the roll perforations with a sharp knife rather than trying to pull the sandwiches apart. Serve warm marinara alongside for dipping, plus a green salad, pasta salad, fries, potato salad, or chips. Leftover sliders can be reheated gently in the microwave, oven, or air fryer.
Why you'll love this recipe
- Saves prep time by starting with packaged cooked breaded chicken tenders or cutlets, so the filling needs layering rather than breading and frying.
- Uses one baking dish for assembly and baking, which keeps the slider slab contained and makes transferring twelve sandwiches to the table straightforward.
- Relies on grocery-store staples like slider rolls, marinara, mozzarella, and Parmesan, so a casual dinner or game-day tray needs little specialty shopping.
- Feeds 12 servings from one assembled tray because the rolls bake together, then separate neatly when cut along their existing perforations.
- Keeps the filling cohesive with mozzarella above and below the chicken, giving each cut slider melted cheese that helps hold the layers in place.
- Allows advance assembly because the sliders can be chilled before baking, with the garlic butter and Parmesan topping added just before they go in.
Ingredients
- •1 package crispy chicken tenders or chicken breast cutlets (26 oz)
- •12 slider rolls
- •4 Tbsp salted butter (melted)
- •3 cloves medium garlic (minced; or 1 tsp granulated garlic)
- •0.5 tsp onion powder
- •0.5 tsp dried Italian seasoning or oregano
- •0.5 tsp crushed red pepper flakes
- •12 slices mozzarella cheese
- •1 cup thick marinara sauce (plus additional for serving)
- •2 Tbsp grated Parmesan cheese (divided)
- •1 Tbsp fresh Italian parsley (chopped, optional; 1-2 Tbsp)
- •cooking spray
Instructions
- 1
Cook the chicken on a sheet pan according to the package directions, then cool.
- 2
Preheat the oven to 350°F and spray a 12×8-inch baking dish with cooking spray.
- 3
Cut the slider rolls in half and place the bottom halves in the baking dish.
- 4
Mix the melted butter, garlic, onion powder, Italian seasoning, and crushed red pepper flakes in a small bowl.
- 5
Brush the bottom rolls all over with the garlic butter.
- 6
Top the rolls with 6 slices of mozzarella cheese.
- 7
Spread 1/2 cup marinara sauce over the cheese.
- 8
Arrange the cooked chicken pieces on top.
- 9
Drizzle the chicken with the remaining 1/2 cup marinara sauce.
- 10
Sprinkle with 1 Tbsp Parmesan cheese.
- 11
Cover with the remaining 6 slices of mozzarella cheese.
- 12
Place the top buns over the cheese.
- 13
Brush the tops all over with the remaining garlic butter and sprinkle with the remaining Parmesan cheese.
- 14
Lay foil loosely over the sliders and bake for 20 minutes.
- 15
Uncover and bake for another 3-5 minutes, until lightly golden and the cheese has melted.
- 16
Use a sharp knife to separate the sliders by cutting along the roll perforations.
- 17
Serve with additional warm marinara sauce on the side.
FAQ
Reviews
Pin this recipe
Tap an image to save it to Pinterest.